Request Quote
Thank you! Your submission has been received!
Oops! Something went wrong while submitting the form.

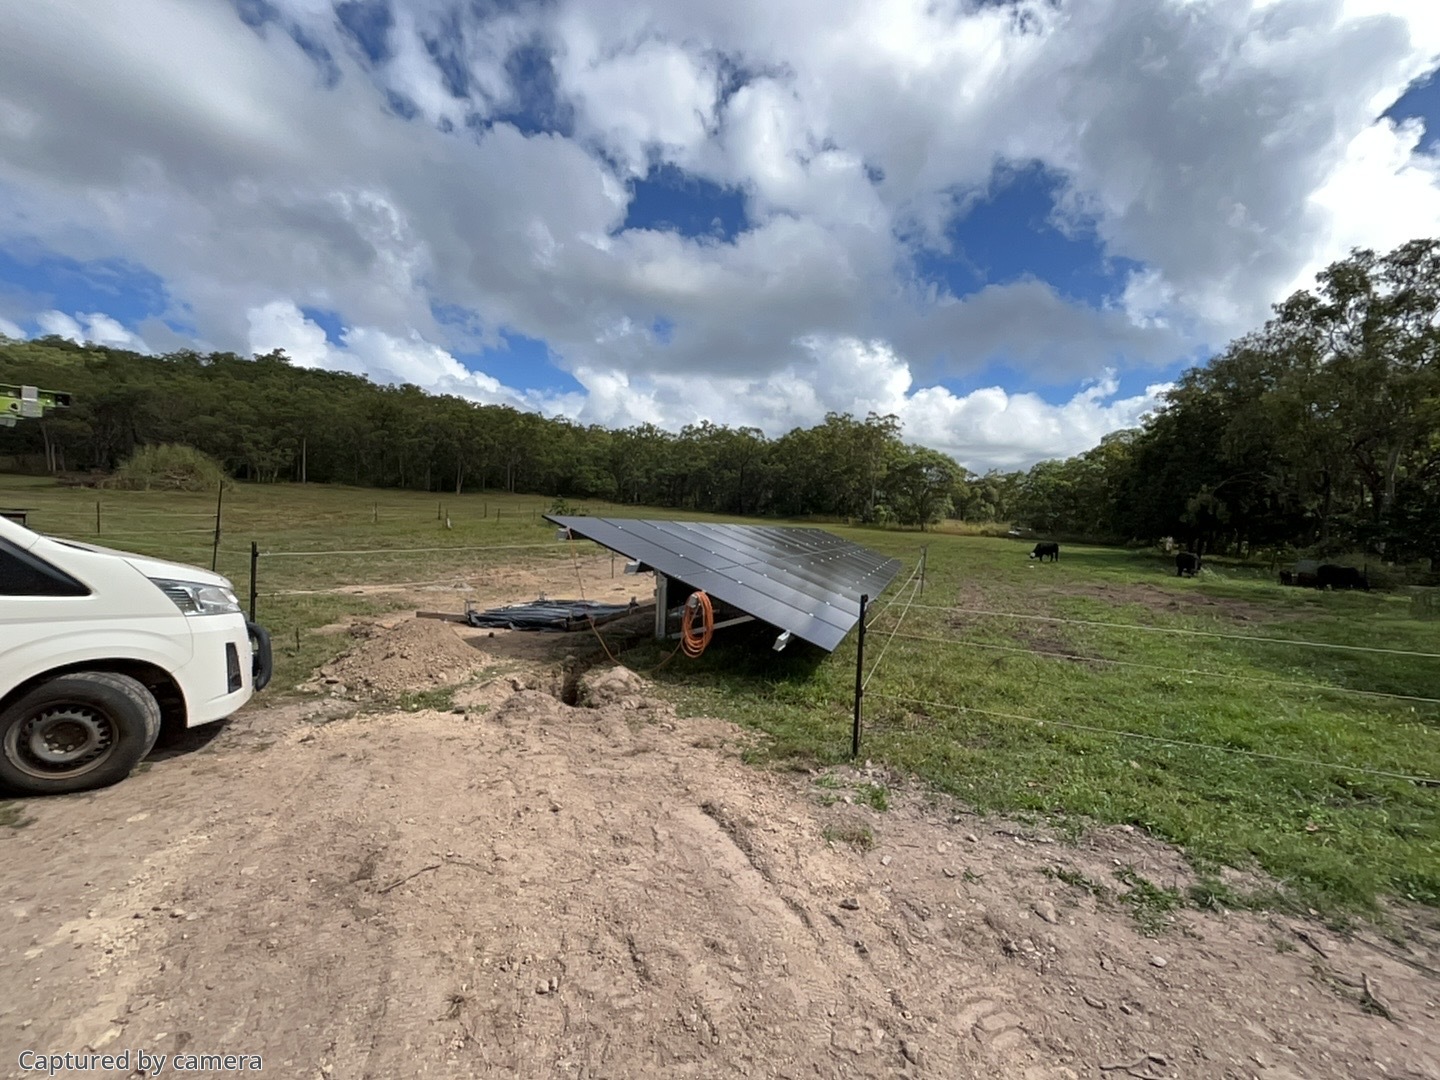
Building a new farm shed is the perfect time to get your power sorted properly. With a bit of planning before the first peg goes in, you can make the shed solar-ready from day one, without ripping up concrete, running extra trenches, or trying to squeeze heavy cables through tiny conduits later.
More farmers are choosing a remote property solar setup as grid power gets harder and more expensive to bring in. A shed that is planned with solar from the start can run gear now and still have room to grow as the farm changes. In this guide, we walk through a practical checklist, from site layout and trenching to batteries, lightning protection, and future loads, so the system works for the long haul, not just the first season.
The shed site decides how easy and efficient your solar will be. Moving the shed a few metres on paper is much cheaper than moving cables and arrays later.
Think about orientation and roof design first. If you want a roof array, it helps to:
Access and shading come next. Long-term shade from trees, silos or nearby hills can cut solar output and cause headaches with string layouts. On the other hand, you do not want the shed so far away from the house, bore or main pump that cable runs become long and inefficient. Shorter runs help reduce voltage drop and keep cable sizes sensible.
It is also smart to decide early if you are aiming for:
That choice changes where you place inverters, batteries and switchboards. A hybrid shed might need a clear path back to the main switchboard, while an off-grid shed might have its own central power hub on site. Thinking about the broader farm power network early saves redesigns once the shed is standing.
The most expensive mistakes usually hide under the ground. Trenching and conduits are hard to change once the slab is poured and the driveway is laid.
Before concrete goes down, map every trench line you are likely to need, not just for power. This can include:
On conduit size, bigger is almost always better. Oversized conduits give space for:
We also like to see at least one spare conduit in each trench. It is a cheap way to keep options open for future pumps, cold rooms or extra solar strings.
Cable sizing needs careful design. The distance from the shed to the main board or battery hub, the types of loads you want to run, and acceptable voltage drop all feed into the cable selection. Welders, compressors and irrigation pumps pull high currents, often with tough start-up loads. Getting the size right at the start helps avoid nuisance trips, poor performance and wasted energy.
Regional properties are hard on gear, so panel and equipment placement matters a lot.
For panels, think about:
Keep tractor and header access in mind so arrays are not at risk from turning machinery. Avoid spots where grain dust, fertiliser dust or spray drift will settle heavily on panels.
Batteries and inverters need cool, dry, secure spaces. Good locations are:
Australian Standards set clear rules around clearances, fire safety and signage, so planning for a compliant layout early helps the install run smoothly.
You also need to choose between a centralised power hub, for example near the main house, and localised gear at the shed. A central hub might mean higher DC or AC cable runs from the shed array back to the main system. A localised setup at the shed might be better if the shed is the main power user. This decision feeds straight back into trenching, cable sizes and how the whole remote property solar setup ties together.
A lone steel shed in an open paddock is a tempting target for lightning. Proper planning helps protect people, equipment and buildings.
Farm sheds with large metal roofs and tall frames can benefit from:
Earthing is not just one rod in the ground. With multiple buildings you should look at an earthing strategy across the whole site. That can include:
Good earthing not only supports safety, it also helps systems run more reliably in the long term. Many insurers expect that lightning and earthing are done in line with Australian Standards. Well-documented protection can make a difference when storms or bushfires pass through and you need to show that reasonable steps were taken.
Power is only half the story now. Being able to see what your system is doing from the house or phone is just as handy, especially on big properties.
When you trench for power, it pays to think about data at the same time:
Remote monitoring of inverters, batteries and pumps helps pick up faults early and cuts trips across the paddock just to check if a pump is running.
Future load planning is the final piece. Before you lock in the design, make a simple list of what might be added in the next few years, such as:
If you allow for these when sizing conduits, boards and solar, you will have far more flexibility without big new earthworks. When everything is tied into one thought-out remote property solar setup, the house, sheds and pumps can work as a single, manageable system that grows with the farm.
Bringing it all together, a good pre-build plan covers shed siting and orientation, trench and conduit layouts, correct cable sizing, smart panel and battery locations, a clear lightning and earthing approach, and comms paths with room for future growth. Getting these choices made before you start building keeps the project tidy and avoids painful rework.
At AusPac Solar we spend a lot of time on this early planning with farms across regional Australia and the Pacific, so new sheds become power assets, not problems. With a bit of thought upfront, your shed can support reliable, low-maintenance energy for decades, ready to handle long harvest days, new equipment and whatever the next season brings.
If you are ready to make your off-grid lifestyle more reliable and affordable, we are here to design a tailored solution for your property. Our team at AusPac Solar can assess your power needs, location and budget to create a remote property solar setup that works year-round. Reach out today so we can walk you through your options and help you plan the next steps with confidence.


